

In short
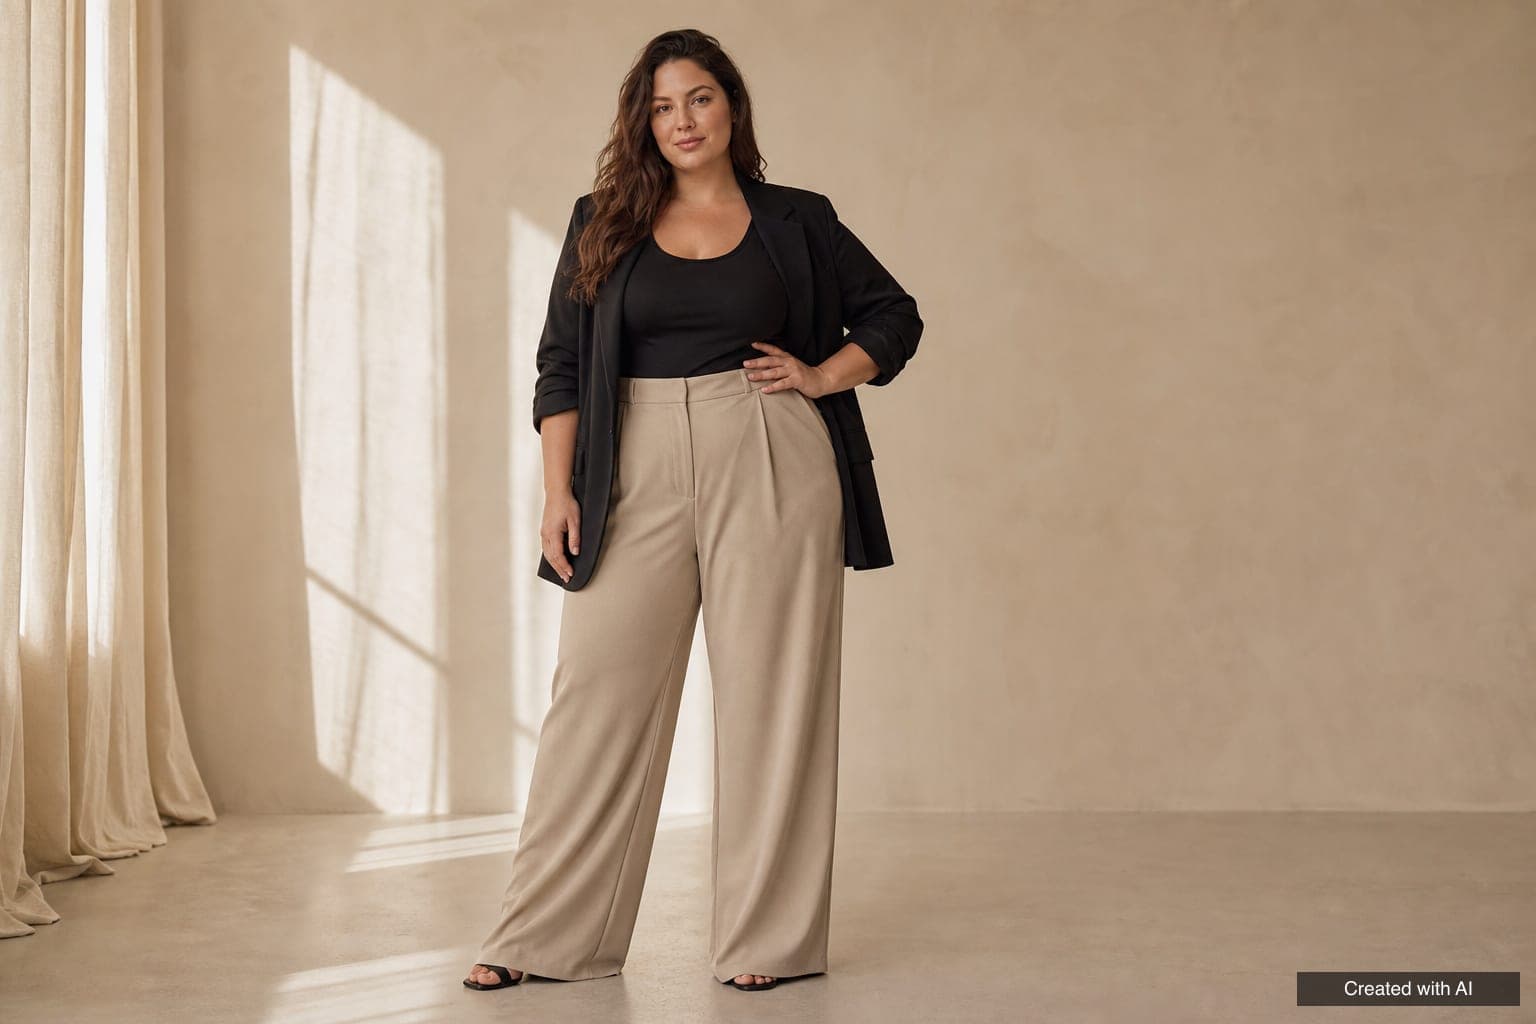
- You can pose in any body. A pose is not there to hide you: it shows a clear silhouette, the garment and the mood.
- Three basics always work: body turned about 45 degrees to the camera, weight on one leg, and a long line from the back of your head to your waist.
- Leave a gap between your arms and torso, push your chin slightly forward and down, and agree camera height and lens with your photographer before the shoot.
- This guide gives 12 poses step by step (5 standing, 4 sitting, 3 lying), a shoot preparation checklist and tips for Instagram.
Most people tense up before a shoot, and it is rarely the camera that does it. It is the thought of not knowing where to put your hands or how to look. Plus size models and first-timers often hear advice that all sounds alike: hide behind your arm, stand sideways, never shoot from below. Advice like that teaches avoidance rather than showing, and the pictures come out stiff. Plus size photoshoot poses that work do the opposite: they show line and movement instead of hiding the body.
This guide does it differently. It builds on the posing fundamentals every model uses, plus recommendations from photographers who regularly shoot larger bodies. For the bigger picture of the work see our plus size modeling guide, and for poses in general read model poses for photoshoots and castings.
What is different about posing in a plus size body, and what is not
The mechanics are the same for everyone: shifting weight, angles, space around the arms, the line of the neck, the eyes. What differs is how light and camera position read shape, and what the lens emphasises first. A photograph flattens volume and depth, so the clarity of a pose, meaning where each part starts and ends, matters more than anywhere else.
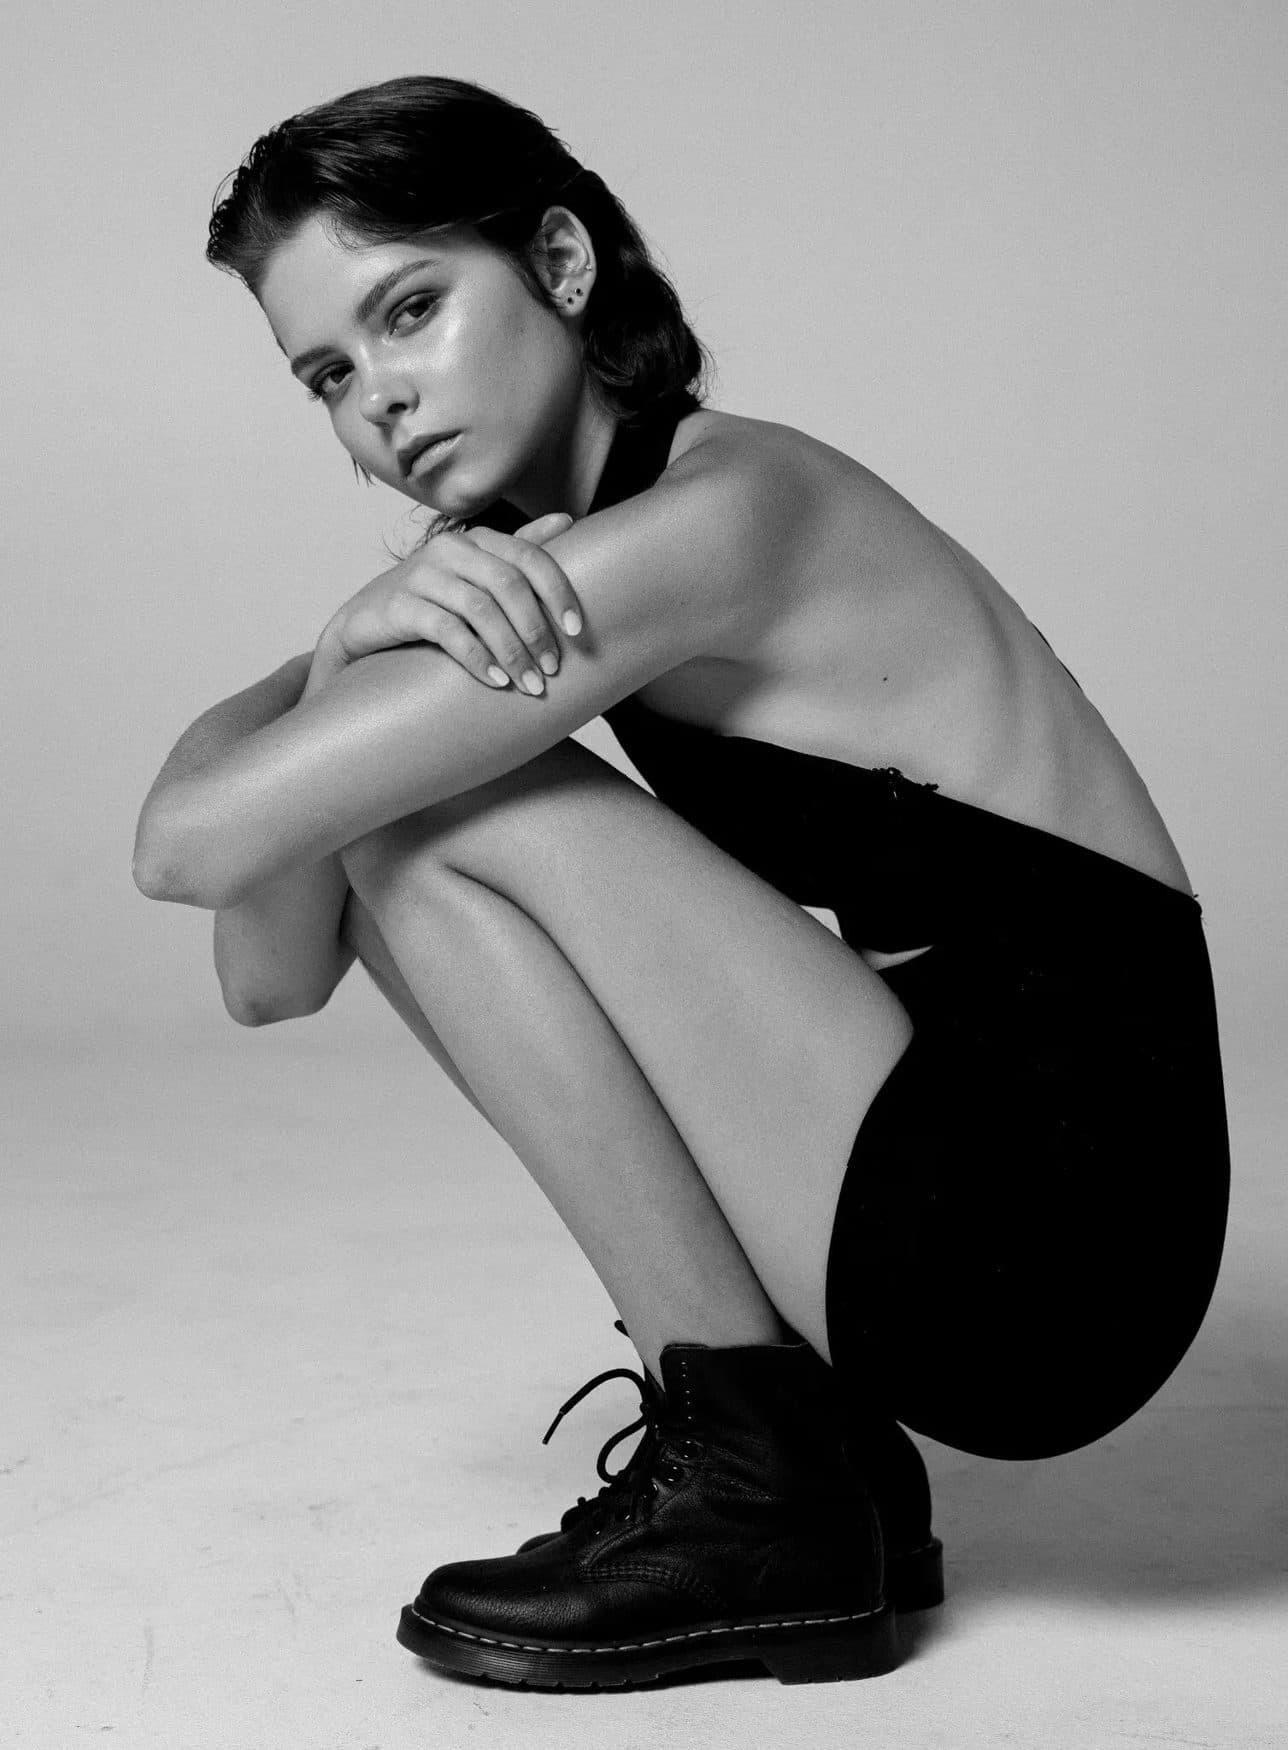 Model training with SupermodelsPoses are easiest to learn when someone corrects youIn the training we film your sequence of poses, show where the line breaks and repeat until the poses flow without pauses.About the trainingfrom €69
Photographers who often shoot larger clients point out that unflattering results usually come from camera position and lack of direction, not from the body. There is one more thing to remember on plus size jobs: a commercial client is selling both the garment and the size. The picture has to show how the clothes sit on a real body, which is why hiding techniques alone do not work here.
Three posing basics: angle, weight and back line
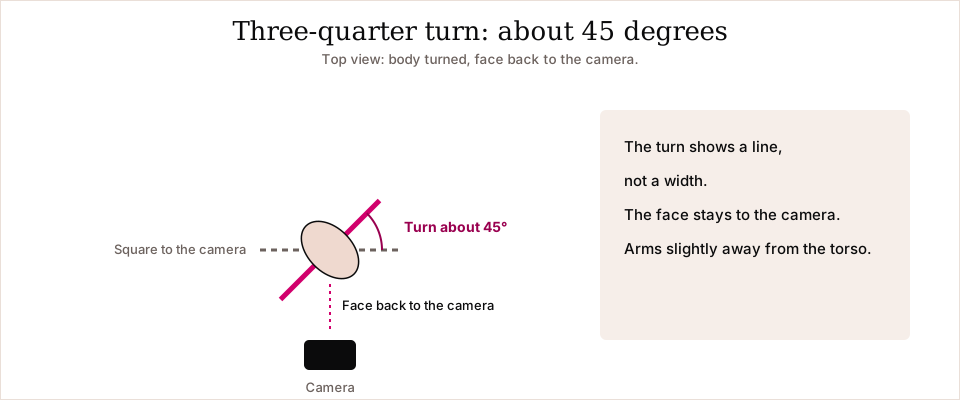
Turn your body about 45 degrees
Standing square to the camera flattens the figure. Turn your body roughly 45 degrees and bring your face back to the lens. You get depth and a clearer silhouette. Adjust the angle in steps of ten or fifteen degrees until you see which one shows your outfit best. It is the same three-quarter turn described in our poses guide.
Put your weight on one leg
Move all your weight onto the back leg and bend the front knee a little. Hips and shoulders tilt in opposite directions and your back gets a soft S-curve. This one correction removes much of the tension from a frame.
Lengthen your back line
Imagine a string pulling the back of your head upward. Shoulders go back and down, chest stays free, and you stay tall without pulling your stomach in hard. A long back line makes the neck and torso read longer and the pose livelier. Avoid the two extremes: slumping and arching so far that it shows as tension.
Hands, shoulders, chin and face
- Hands. Leave two or three centimetres between your arm and torso. An arm pressed against your side reads wider and forms a block. A hand on the hip, on the thigh, in the hair or at the collar opens a gap and gives the shape an outline.
- Fingers. Do not clench or splay them. Keep them slightly apart and the wrist soft, not straight.
- Shoulders. Relaxed, back and down. Shoulders pulled up to your ears shorten the neck.
- Chin. Push it slightly forward and down, as if reaching for the camera with your jaw. Photographers describe this as a dependable way to avoid a shadowed double chin. A chin lifted too high does the opposite.
- Face and eyes. On commercial shoots keep the face open, with a smile or relaxed calm. High fashion calls for a serious face. More on using your face is in the poses guide.
Camera, lens and lighting: what to agree with your photographer
The model does not create a pose alone. Two photographers can turn the same pose into very different frames, and it comes down to three things: camera height, focal length and light. Ask about them before the shoot. A good photographer will happily explain.
| Factor | What is usually recommended | Why |
|---|---|---|
| Camera height | About eye level or slightly above. A low angle is generally discouraged because it enlarges the chin and distorts proportions. | It keeps the face at the centre of the picture. A higher angle can shorten the body, so mix it with other frames. |
| Lens | 50 mm or longer. Portrait lenses such as 85 and 105 mm are common. | A longer focal length distorts the face and body less. A wide lens used close widens the edges of the frame. |
| Light | Soft, large light source, slightly from the side and above. | Gentle transitions show form clearly, while hard frontal light flattens it. |
| Framing | A mix: portrait, waist up, full length. | Only head-and-shoulders shots can feel like hiding the body. Photographers remind each other to shoot a plus size client the way they would shoot anyone else, full-length frames included. |
Photographers do not fully agree on camera height. Some like a frame slightly from above, others warn that it is overused. The practical answer is to agree that the photographer will vary angles and that you will say, during the review, which ones you like.
How clothes fall and move: how your outfit changes the pose
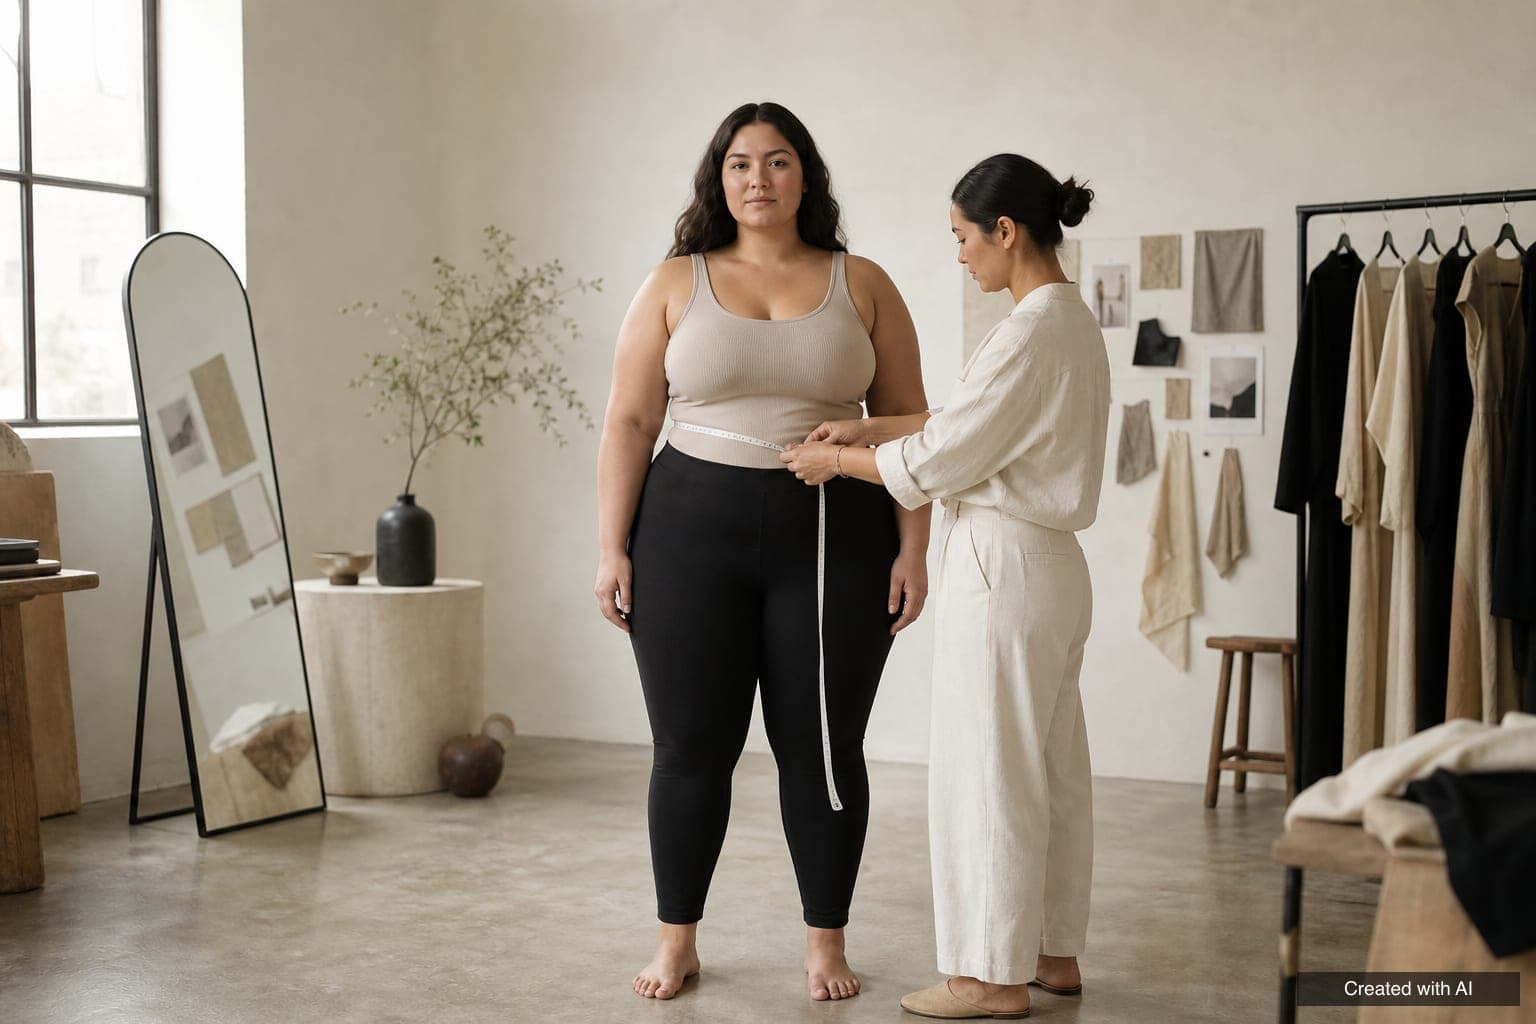
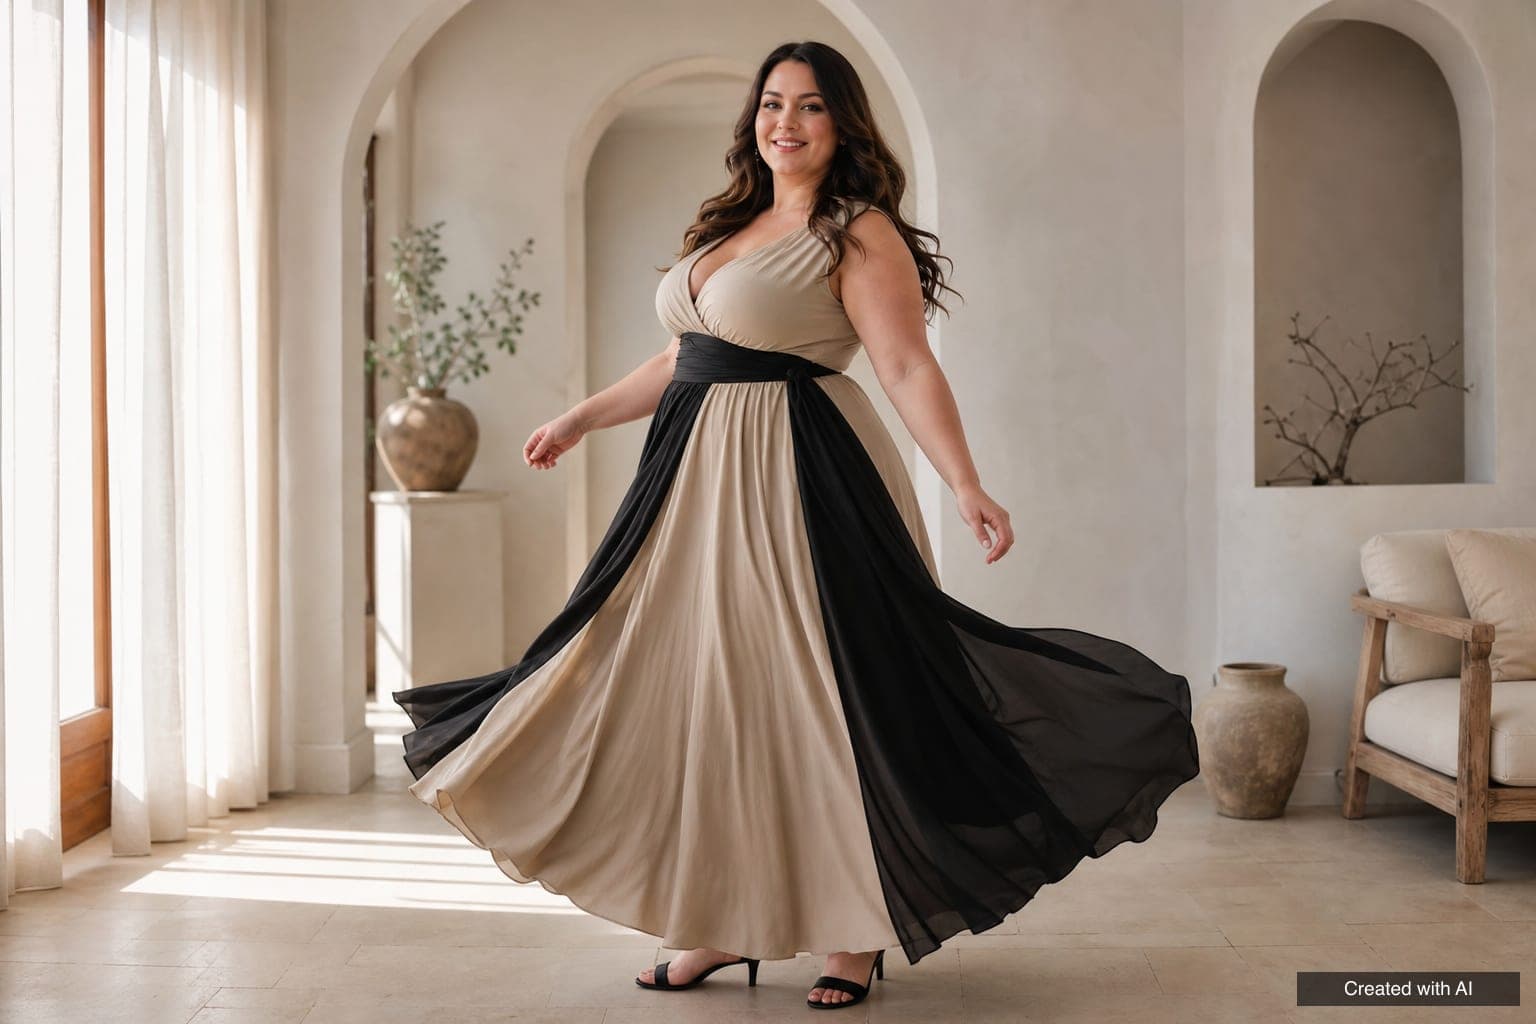
A garment that falls loosely and one that clings call for different movements. A full dress shines in motion: a step, a turn, a gentle catch of the skirt. Close-fitting knitwear needs a calmer, clearer pose and underwear with no visible seams.
- Try your outfits before the shoot and move in them: sit, raise your arms, take a step. If something pinches or rides up, tell the stylist.
- Fabric affects how a garment falls: heavier fabrics hang close, light ones open in a breeze. Read about fabrics on our fabrics page.
- Seams, zips and pockets can show through. Choose underwear to suit each outfit and check it in daylight.
- For silhouettes and sizes use the clothing guide and the size guide.
12 poses step by step
The poses are grouped by position. Treat each as a starting point: change the angle, hands or gaze and you get a new frame. Once a pose is learned, hold it for a few seconds only, then flow into the next.
Standing
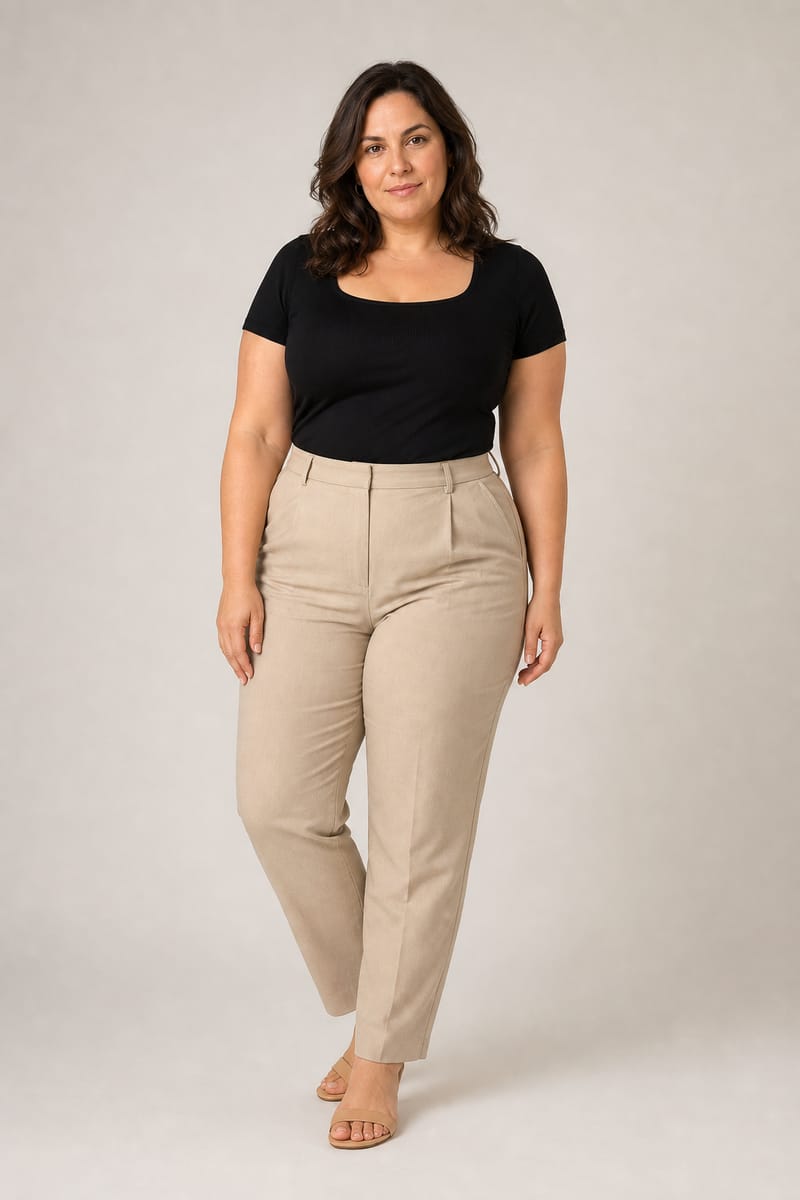
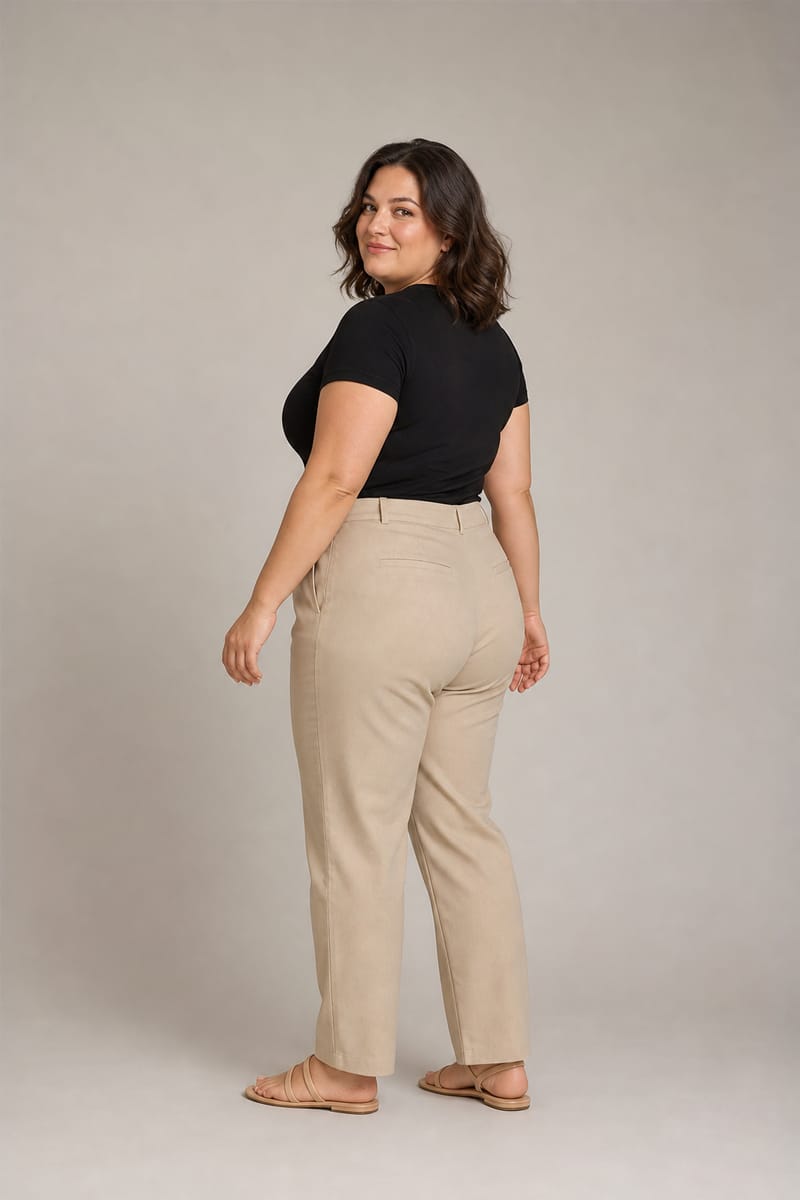
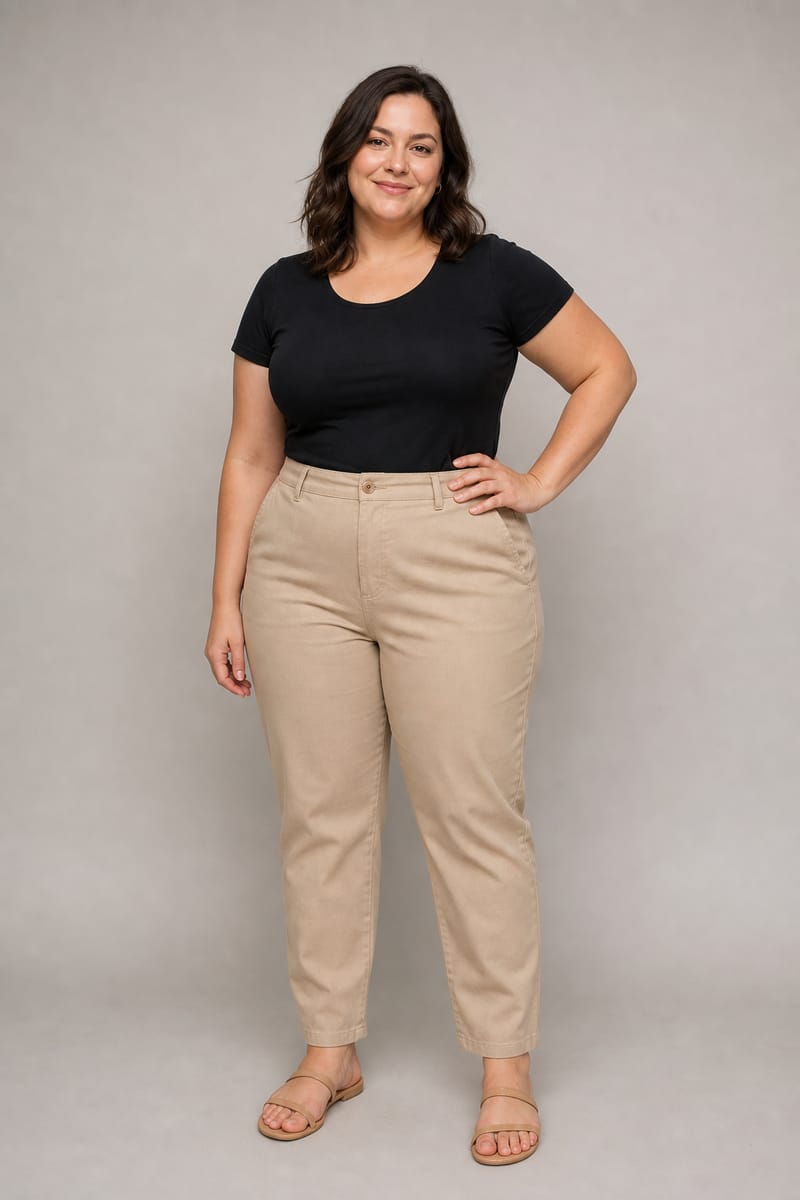
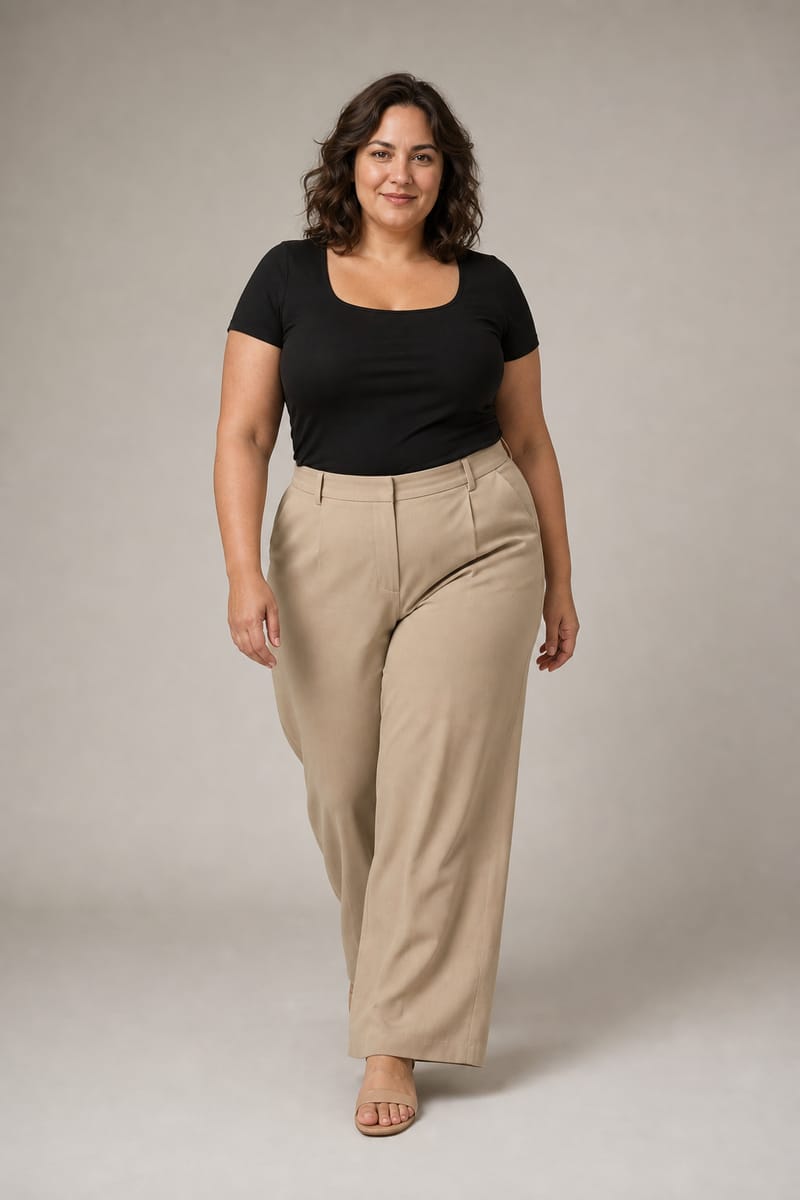
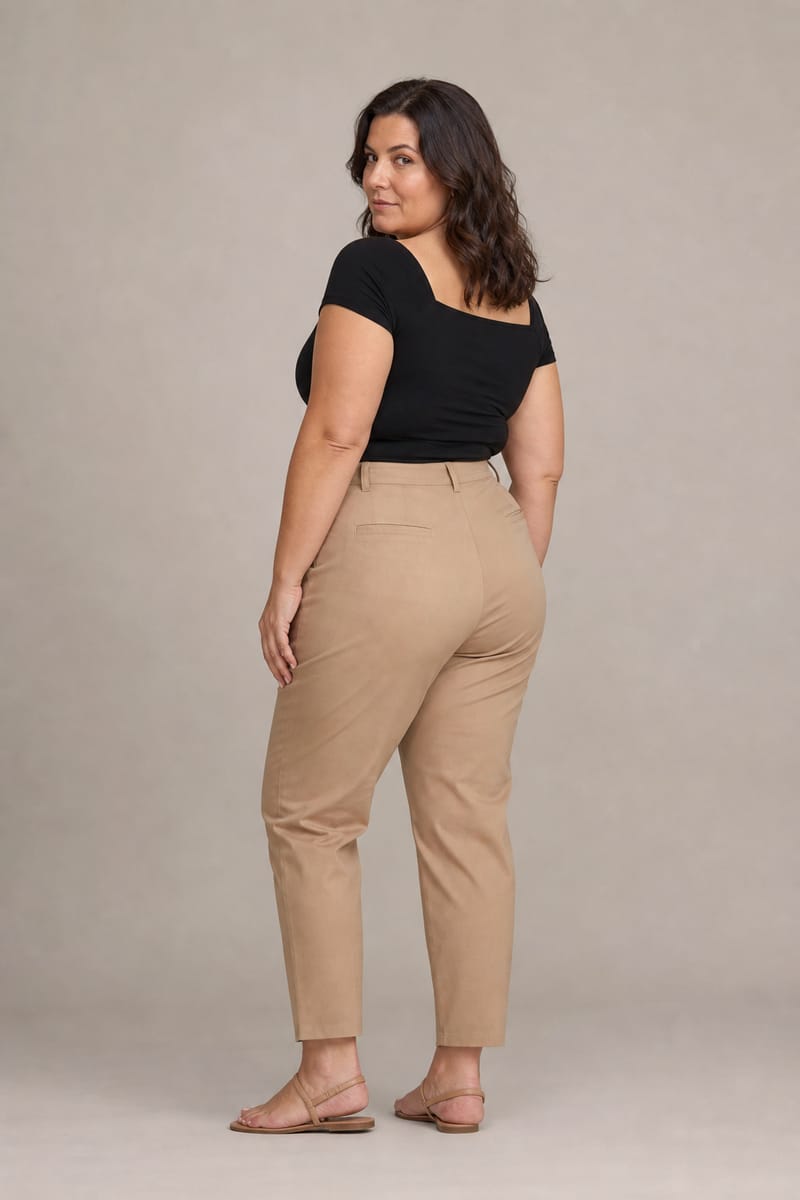
- Weight on one leg. Stand tall, move your weight onto the back leg and soften the front knee. Hips go one way, shoulders the other. The starting point for nearly every other pose.
- Three-quarter turn. Turn about 45 degrees and bring your face back to the camera. Arms loose and slightly away from the torso. Works for catalogue and e-commerce.
- Hand on hip. Fingers rest lightly on the hip, elbow slightly back so a gap stays between arm and waist. The other arm relaxed.
- Step towards the camera. A slow step towards the photographer, weight rolling from the back leg to the front. The garment moves and the frame comes alive. Take a few steps and let the photographer pick the best.
- Look over the shoulder. Turn your back to the camera and look over your shoulder. Shoulders back, neck long. Shows the back of a dress or jacket well.
Sitting
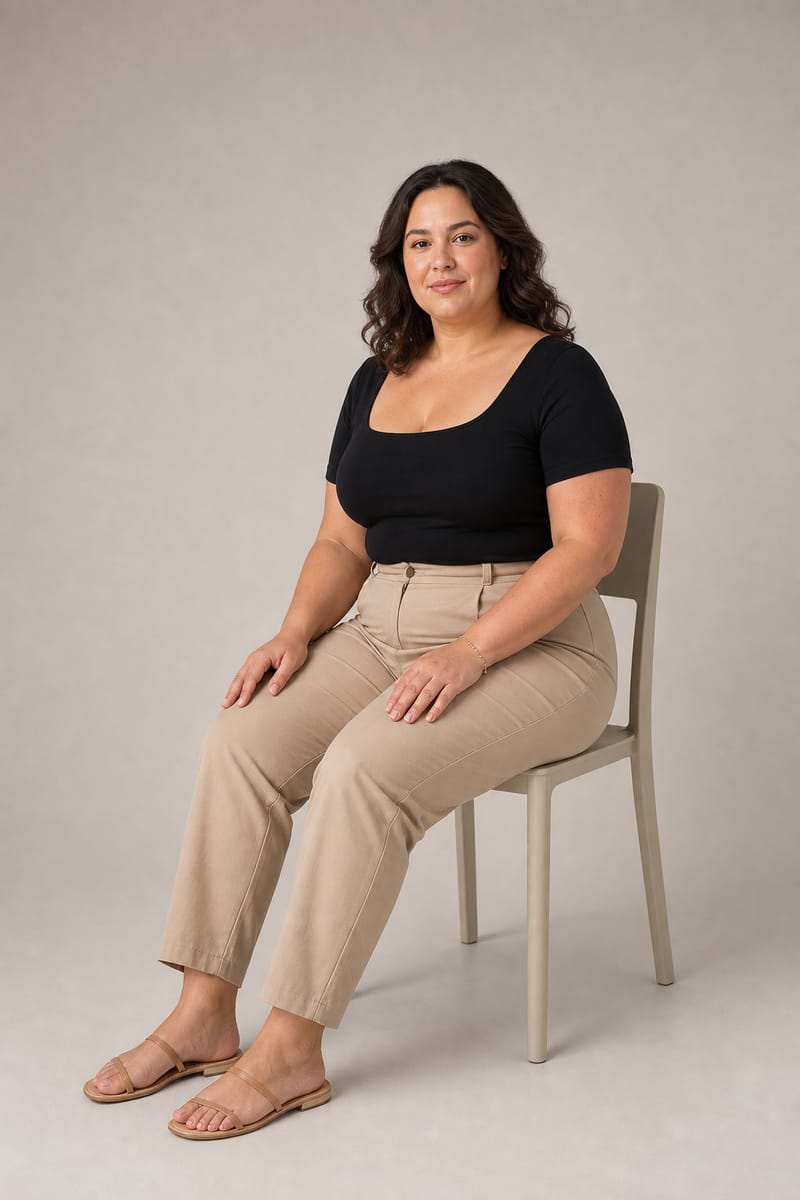
- On the edge of a chair. Sit near the front, back long, shoulders back. Do not sink into the seat or slump, which compresses the body. Cross your ankles or tuck your legs to one side.
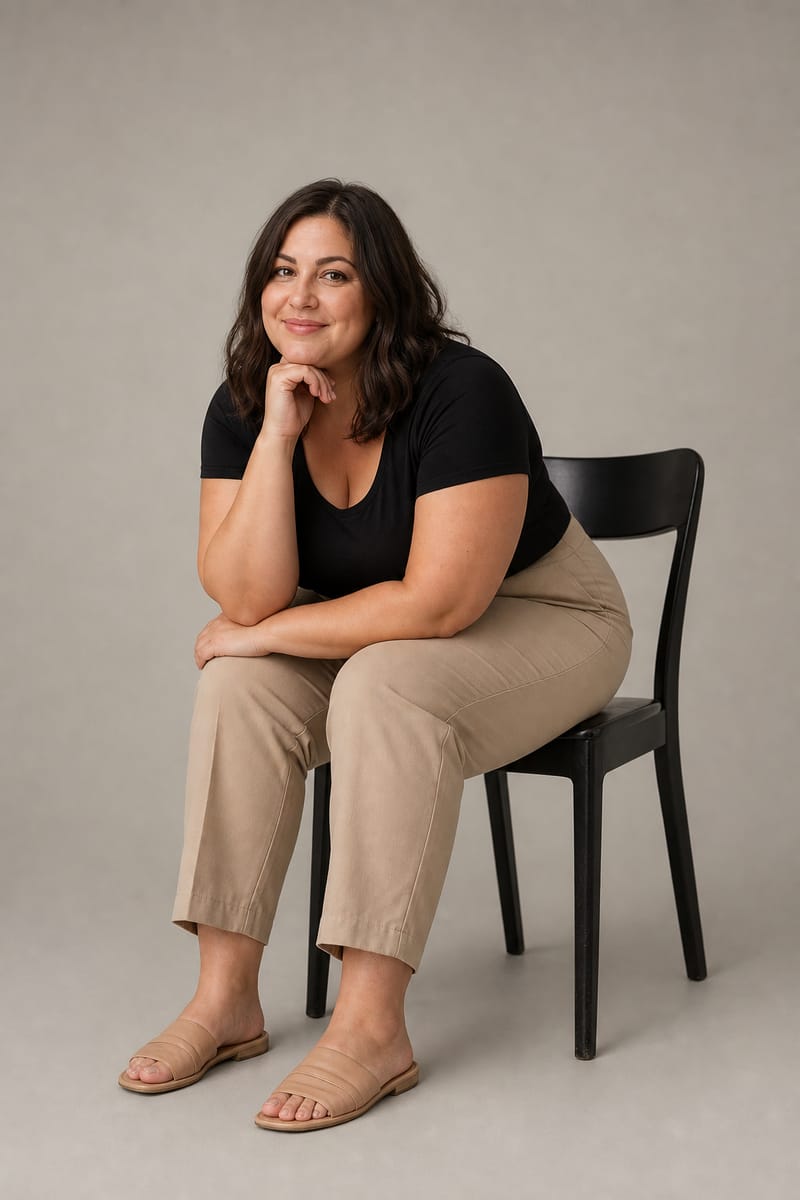
- Leaning forward. Lean from the waist, not the shoulders, rest an elbow on your knee and push the chin forward and down. It is the nearest thing to a conversation with the camera.
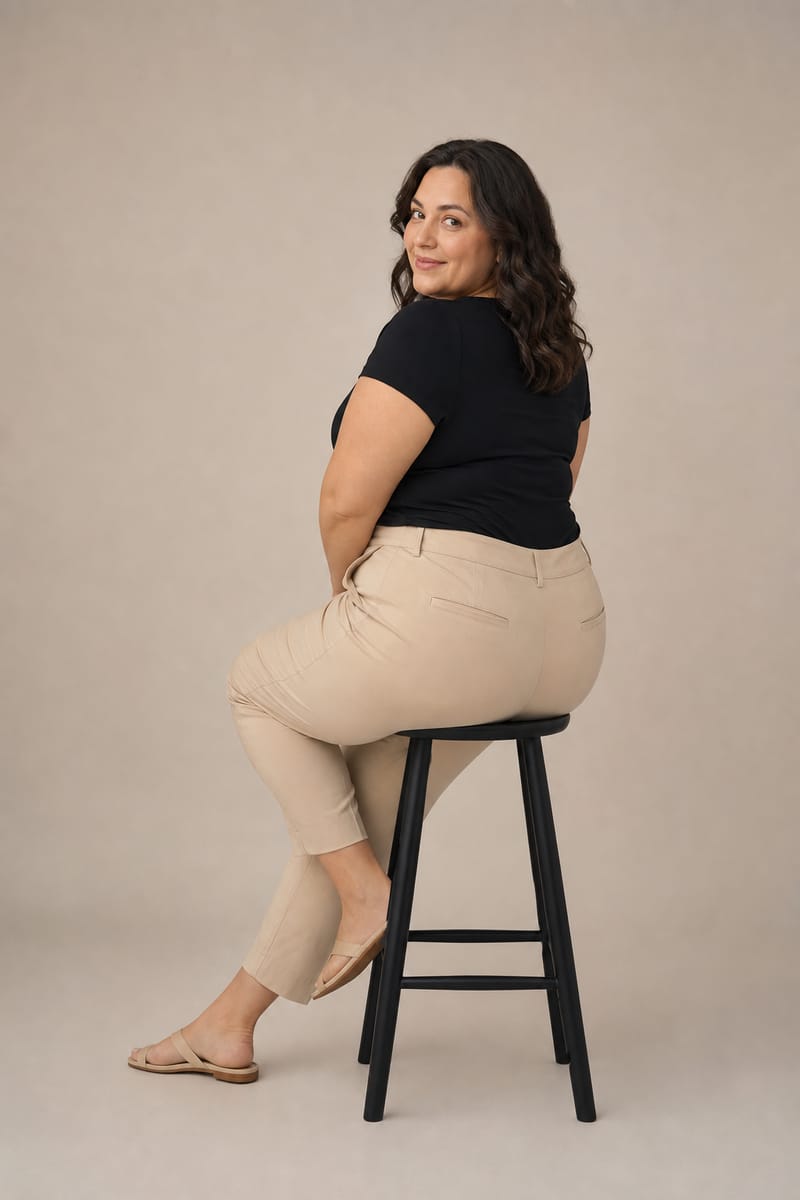
- Sideways to the camera. Turn the chair or your body sideways, with face and chest back towards the lens. Ankles crossed. A calmer pose for tailoring and elegant dresses.
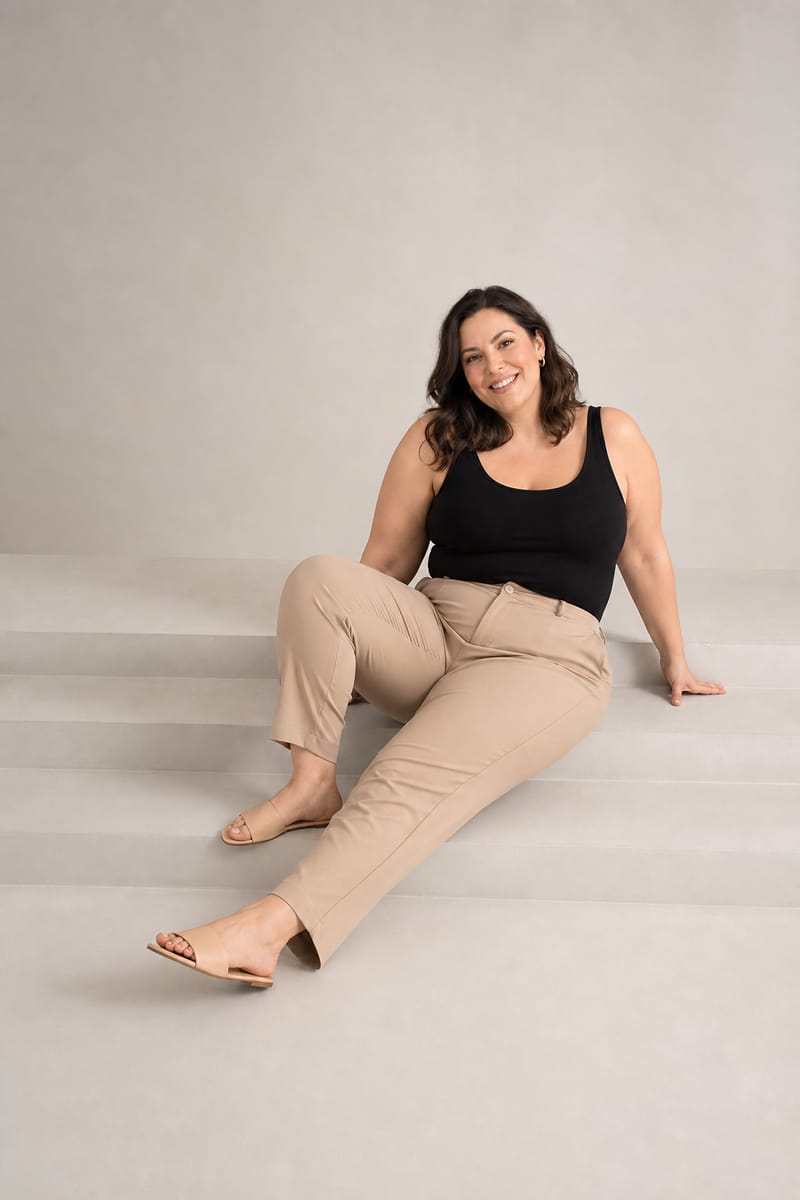
- On the floor or steps. One leg extended, one bent, one hand behind you or beside you for support. Keep the back lifted, not collapsed. Good for relaxed lifestyle frames.
Lying
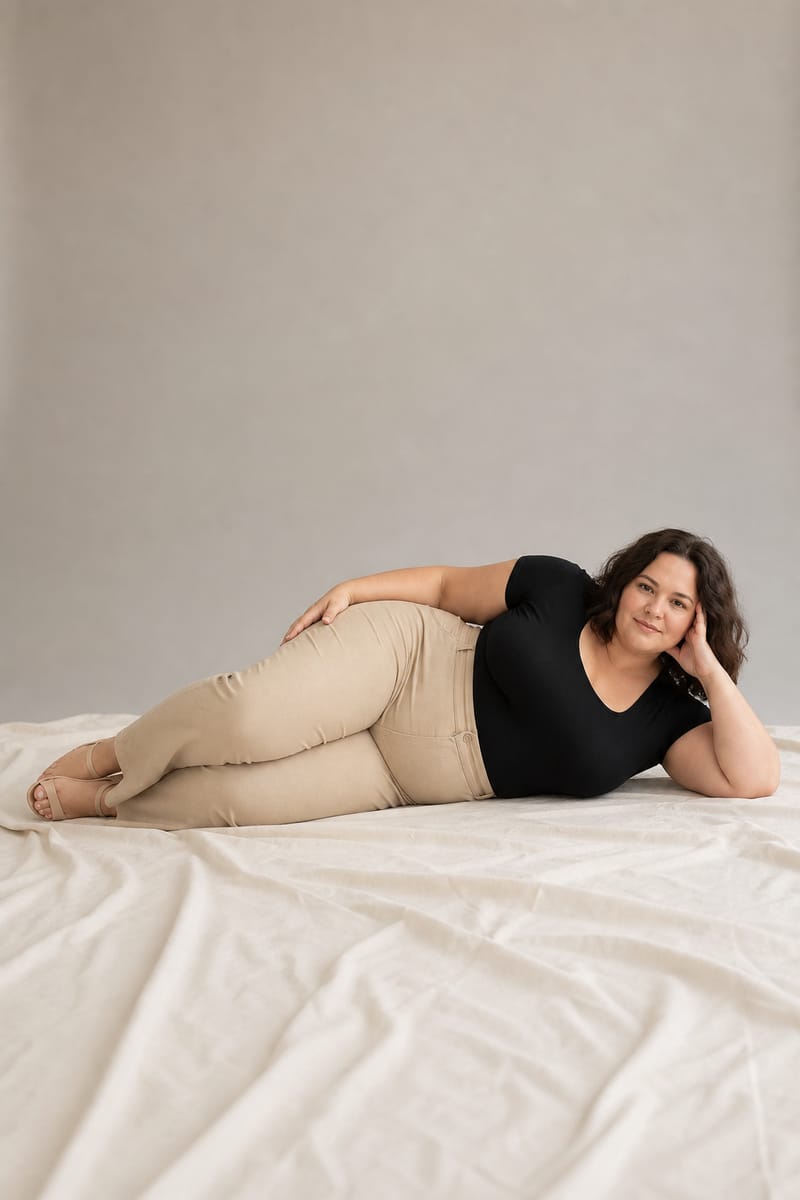
- On your side. Lie on one side with your head resting on your hand and elbow on the surface. The top arm is free, on the hip or thigh. Bring the top leg slightly forward.
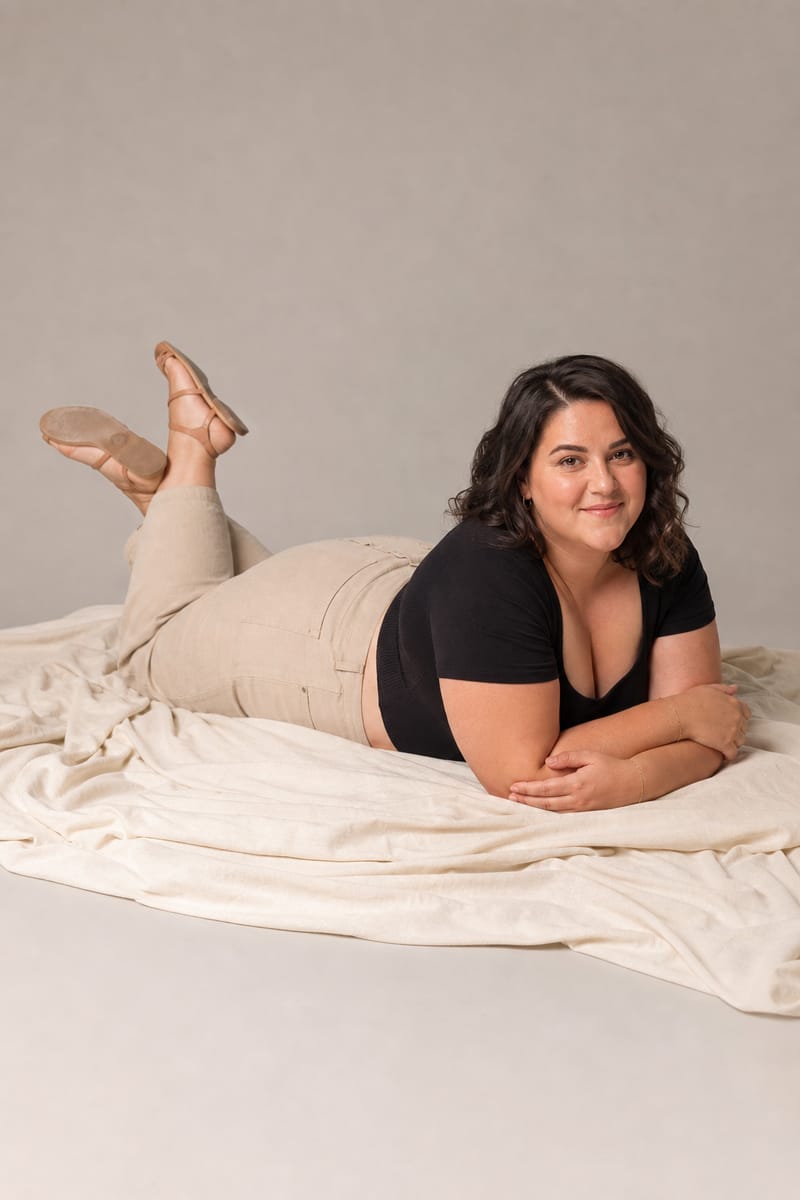
- On your stomach, on your elbows. Prop yourself on your elbows, shoulders down, neck long. Bend and lift the legs. Used in lingerie, swimwear and relaxed lifestyle shoots.
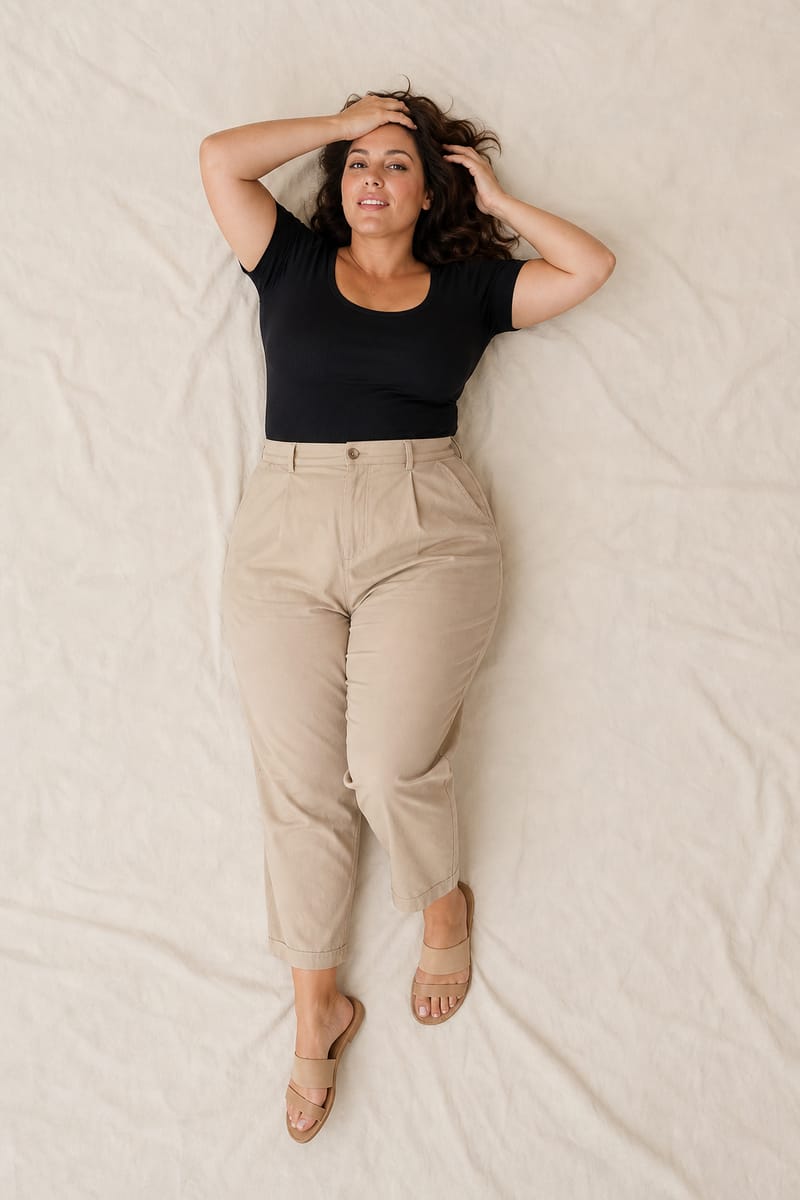
- On your back. Lie down with one hand in your hair or on your forehead. The photographer shoots from above. Spread your hair, and look at the camera or to the side.
For more poses, especially ones you meet at castings, see the poses guide. How to carry yourself in motion is covered in how to walk like a model.
How to prepare for a photoshoot
- Talk through the idea. Send the photographer five to ten pictures you like and some you do not.
- Agree what the pictures are for. Catalogue, portfolio or a personal project decides the poses and frames. If you are building a portfolio, read the portfolio guide.
- Try your clothes and underwear beforehand, not on the morning of the shoot.
- Practise in front of a mirror or with your phone, ten minutes a day, three or four poses. Film in bursts and watch where your hands drift.
- Pack several outfit and shoe options, spare underwear, water, and hair and lip products.
- Review frames during the shoot and say what you like. A good team welcomes that.
A first shoot can be booked as a model test shoot, and your composite card needs the best few frames from it. See the composite card guide.
Poses for Instagram and social media
On Instagram a picture lives for a few seconds, so poses are simpler and the frame is clearer. A few principles:
- Face and outfit must read clearly on a small phone screen. Complicated poses with many angles are often lost.
- Keep the phone or camera around eye level or slightly above, not below chest height. If someone else is shooting, ask them to step back and zoom in.
- Movement beats stillness: a step, a hair flip, a laugh between frames, a glance to the side.
- Change pose every few seconds and choose your favourites after the session, not during it.
- Consistency matters for a professional feed: agencies often treat your profile as a first portfolio. The first steps are in how to become a plus size model.
How to behave and what to avoid
How to behave
- Tell the photographer before the shoot what matters to you and what does not.
- Breathe and change pose every few seconds.
- Show the garment: the hem, sleeves, collar, silhouette.
- Ask to review frames during the shoot.
What to avoid
- Arms pressed against your sides.
- Poses where an arm or bag keeps covering your torso.
- A chin lifted too high, or looking down the lens.
- Slumping when you sit.
- Criticising yourself mid-shoot: swap "how do I look" for "what do I want to show".
Plus size modeling is not a separate, hidden genre. For how the industry is changing read body diversity in fashion and modeling, and for jobs and pay see plus size modeling jobs and pay.
Frequently asked questions
How do I pose if I feel awkward in front of a camera?
Start with one pose: weight on one leg and your body turned about 45 degrees. Practise in front of a mirror for ten minutes a day. Tell the photographer what you want to show, and ask to see frames during the shoot.
Which poses work for plus size models?
The same ones every model uses: the three-quarter turn, weight on one leg, hand on hip, a look over the shoulder, sitting on the edge of a chair. What changes is that camera height and light are agreed with more care.
How do I avoid a double chin in photos?
Push your chin slightly forward and down and lengthen your neck. Photographers also recommend shooting from about eye level or a little above. A chin lifted too high gives the opposite result.
What lens is best for a photoshoot?
For portraits, 50 mm and longer is usually recommended, for example 85 or 105 mm. A longer focal length distorts the face and body less than a wide angle used up close.
Should I hide my stomach or arms in photos?
No. The aim of a pose is to show the garment and the mood. A gap between arm and torso, a long back line and well-chosen underwear help far more than hiding. Clients and agencies want to see a real body and how the clothes fit.
How should I pose for Instagram?
Choose simple poses that read on a phone screen: a step, a glance to the side, a hand on the hip. Use soft window light and change pose every few seconds.
Sources and recommended reading
- Zoner Studio, Plus-size portrait photography: camera height, portrait lenses, poses and light.
- Digital Photography School, Elizabeth Halford, 6 Tips for Photographing Large People, 2011: long focal length, angles, full-length frames.
- Square Eye Photo, Plus Size Bride Posing Guide: camera perspective, chin placement, weight distribution.
- Kelly McPhail Photography, How to Pose: 7 Simple Ways to Look Better in Photos: the 45-degree angle, space between arm and torso, posture.
- Supermodels agency model training and Supermodels Masterclass course material, and the Jurgita guide to model poses.

Comments (0)
No comments yet. Be the first!
Only logged-in users can comment. Register — and you'll be able to share your thoughts on this article.
Register